Hello Hi there and welcome to the next edition of the HBHW newsletter. We've been spending a lot of time this past week working on the yard and getting the garden ready for spring planting. It's been nice and sunny for the past few days and we've thoroughly enjoyed it. Sadly it looks like we'll have plenty of rain and much colder weather for the rest of the week. I'm going to enjoy the sunshine while it
lasts.
This week's newsletter is full of fun ideas and yummy recipes perfect for the first warm spring days. In today's Frugal tip, I share some great ideas for frugal spring planting. The recipe and article this week are by my friend Christine from AuthenticMoms.com. She shares a
mouth-watering recipe for grilled beef ribs and has some great advice for grilling meat in general.
Christine also has a Spring eBook sale going on. For the next couple of days you can get the whole spring bundle for $10 (that comes
out to just a little over a dollar per book and printable). Check it out at
Enjoy!
Susanne
|
|
"March is a month of considerable frustration - it is so near spring and yet across a great deal of the country the weather is still so violent and changeable that outdoor activity in our yards seems light years away."
- Thalassa Cruso
Featured Recipe of the Week |
Grilled Beef Ribs With Memphis BBQ Dry Rub
Rub
Ingredients
- 8 Tbsp. Paprika
- 4 Tbsp. Powdered Garlic
- 4 Tbsp. Chili powder
- 3 Tbsp. Black Pepper
- 3 Tbsp. Kosher Salt
- 2 Tbsp. Celery seed
- 1 Tbsp. Oregano
- 1 Tbsp. Thyme
- 1 Tbsp. Cavender’s Seasoning
Favorite BBQ Sauce – homemade or store bought (optional)
In a medium size bowl, add all spices and mix together.
Rinse beef ribs
and allow excess water to drip away.
Line a flat baking sheet with aluminum foil for easier cleanup. Lay ribs on sheet.
Thickly coat both sides of ribs.
Wrap coated ribs tightly in foil and grill over low heat (around 250 degrees) for 3 hours, turning once half-way through.
For saucy ribs, during the last 15 minutes of cooking time, coat the ribs with your favorite BBQ
sauce.
A Few Related Recipes You're welcome to share the recipe on Pinterest, Facebook etc. I'm also sharing a lot of recipes on the HBHW Facebook page. Click on through to check it out. As always, likes, comments and shares are much appreciated. :) |
|
Good for you, Good for the
environment, and Good for your wallet. Every recipe meets this 3'G principal- Not only will you learn how to make your own non-toxic, eco friendly household cleaning supplies, you will actually save money doing it.
This book will help take the intimidation out of making your own cleaning supplies with a baby step process while sharing reasons why you should make the change. Order the Book on Amazon
|
|
|
Wouldn't it be great to have access to a magazine, that’s packed full of hands-on advice, delicious recipes for things your family will actually eat and plenty of support from moms and homemakers just like you? http://www.HomemakersHutch.com It's a digital magazine we are putting together each month full of fun recipes, crafts and helpful tips and ideas. The January issue is packed full of over 100 pages of tips, ideas, recipes and articles to help us make 2015 the best year
ever. Here's what's you'll find in the
March issue:
- Creating More with Less: A Decluttering Challenge.
- Clearing Out, Cleaning Up & Cozying Your Surroundings with Stuff You Already Have
- 10 Tips to Wake Up Refreshed and Raring to Go Every Day.
- Decluttering for Charity.
- Boost Your Bedtime Routine – Things To Do Just For You
- 30 Days to an Organized
Home.
- Day 1- The “Spot”
- Day 2- Front Closet
- Day 3 – Formal Living Room.
- Day 4 – The Family Room.
- Day 5 – Keeping It Organized.
- Day 6- The Junk Drawer
- Day 7 – Mud Room/Laundry Room.
- Day 8 – Home Office.
- Day 9 – Home Office.
- Day 10 – Create a Home Management Binder
- Day 12 – Your Refrigerator
- Day 13 – Kitchen..
- Day 14 – Preserving Memories.
- Day 15 – Master Bedroom..
- Day 16 –
Master Closet
- Day 17 – Master Bath..
- Day 18 – Closets.
- Day 19 – Bathrooms.
- Day 20 – Your Computer
- Day 21 – Important Documents.
- Day 22 – Kids’ Rooms.
- Day 23 – The “House” Book.
- Day 24 – The “Odd” Rooms.
- Day 25 – Garage: Day 1.
- Day 26 – Garage: Day 2.
- Day 27 – Create a Disaster Kit
- Day 28 – Protect Your Valuables: Part 1.
- Day 29 – Protect Your Valuables: Part 2.
- Day 30 – Finishing
Up
- No Recipe No Worry – Cook One Pot Meals From The Pantry.
- Quick Beef Vegetable Stew Pot
- Beer Braised Beef Roast Dinner In A Pot
- Asian Inspired Beef Pot
- Easy Corned Beef Cabbage Pot
- Spring Into Better Health With Raw Honey
- Easy Dish Cloth Pattern
- What’s Coming Next Month?
Ready to give it a try? Subscribe to Homemaker's Hutch for $7 a month. |
We're having a lot of fun talking about all things frugal and homemaking on Facebook. Join in the discussion at the Hillbilly Housewife Facebook page.
Be sure to like the page so you don't miss a thing. Here's just one of this week's topics. |
|
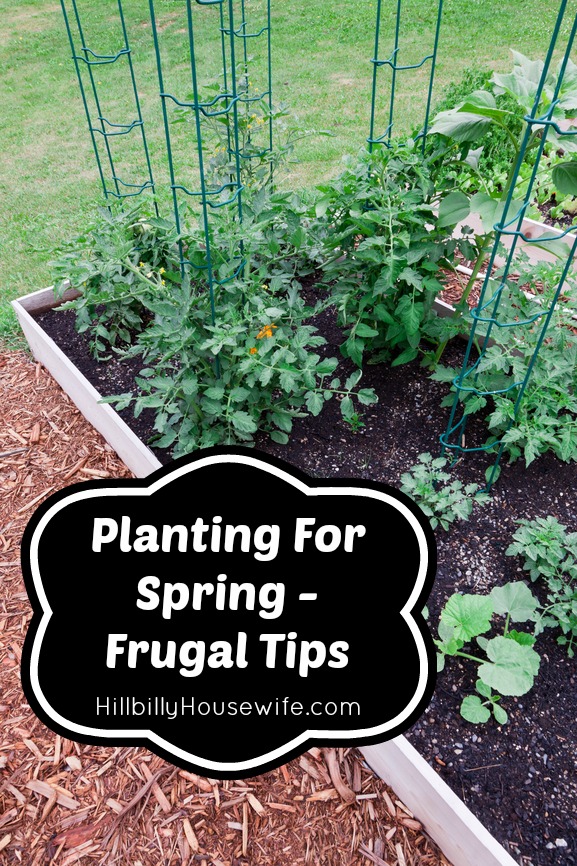
We’ve started getting our garden beds and containers ready for spring gardening. This is our second year of “serious” gardening, meaning we’re working on growing a fair portion of our veggies in the garden, not just playing around with a few container plants. Last year we ended up spending a fair amount of money. This year our challenge is to keep it as frugal as possible and we have some great tips to share. I say “we”, because truth be told, my
husband is the one with the green thumb who does most of the actual gardening.
Grow From Seeds
Buying plants, particularly tomato plants put a big dent in our gardening budget last year. This year we’re growing almost everything from seed. Look through seed catalogs and on Ebay for seeds. We were able to get a large lot of heirloom seeds for a few dollars and have grown most of our seedlings from
those.
You can also find plenty of seed packets this time of the year in garden centers and even grocery stores. Don’t forget to save seeds from your favorite plants toward the end of this year’s gardening season. We dry them, wrap them in paper and store them in an old CD case.
Keep Planted Seeds Warm With a Cooler and a Bottle Of Hot Water
Once the seeds are planted, the soil needs to be kept
fairly warm (warmer than we keep our house during the cooler months). We looked at several different options (heating mats, heating lamps etc.), when I remembered my favorite yogurt making technique.
We got out our large cooler out and put the containers with soil and seed in there along with a bottle filled with
very warm water. We monitored the temperature with a small thermometer that usually hangs in my kitchen and changed out the water bottle in the mornings and evenings.
Once the plants started to emerge, we moved the container to a sunny window spot and got the next batch of seeds started in the cooler.
|
|
Use The Soil You Have, Only
Supplementing if Needed
Going out and buying potting soil for several large raised garden beds can get pretty expensive. Instead, use what you have and only supplement if needed. We kept all soil from last year and mixed it with what’s already in our yard and some compost.
We will supplement with a little peat moss and mushroom compost from the garden center if needed. Even if you have to buy soil, mix it with whatever you have in your
yard. You’ll end up needing a lot less this way and save big.
Get Creative With Container Gardening
Since we don’t have a lot of space to garden in the soil at the moment, we do a lot of container gardening. Buying planters can get pricey as well. Instead we started looking at what we already had. There were a few larger pots, but also some buckets and the likes. We got some large plastic drums from a kind neighbor and cut them
in half for two very large containers.
Last but not least we took a little trip to the dollar store and found some great buckets with handles that were meant for carrying drinks and the likes and used them as planters. Even large canvas bags from the store will work as planters.
Grow What You Eat
Last but not least, think about what you like to eat in the summer and fall. Focus on growing the veggies you
end up eating the most. Yes, tomatoes are easy to grow, but if you’re not a fan, there’s no reason to invest a lot of time and effort into growing them.
Featured Article of the Week |
Tips for Grilling Moist Meats
This is a guest post by Christine Steendahl from AuthenticMoms.com
Spring is here! One of the first things I think about when spring appears is “time to grill”! I love a grilled meal and we just don’t grill in the winter. I know you can, but something about heading outside in our Illinois sub-freezing temperatures just is not appealing to me or my grill-master hubby. So at our
house grilling is reserved for the spring, summer and early fall months. By the time spring rolls around I am beyond ready to fire up the grill!
Most everyone likes to cook outdoors on a grill, especially when it’s just too hot to cook in the kitchen. However meat cooked in the hot dry environment of a grill, will often dry out if precautions are not taken. No one enjoys a dry tough piece of meat. Here are a few tips to help create a tender, juicy,
meal.
First, purchase the right meat. Do not use tiny pieces that will fall through the grates (although kabobs work great for this!). Also look for cuts that are uniform in thickness. Finally make sure your meat is fully defrosted before placing it on the grill. Some great choices for grilling include steak, chicken breasts, chicken legs, pork chops, hamburger patties, or fish fillets.
Second, be sure to get the grill hot
before adding any meat. Lock in flavor by keeping the grill closed as much as possible. Grilling with the lid up is similar to grilling on a camp fire. It will get the job done, but it cooks slower and does not lock in the moist flavor you get with the quick hot cooking that will be accomplished with the lid closed. Also, go easy with the spatula. The more pressure placed on the meat, the more the natural juice lost.
Thirdly, use the proper cooking time
for the selected meat and remember to let the meat rest after removing from the grill. This gives it time to finish cooking and reabsorb some of its juices. Here is a link to some recommended cooking times and methods of various meals: http://help.weber.com/grilling-tips/grilling-guides/ (at the top you
can click for various types of foods)
For indirect cooking, a good marinade is the best choice for locking in moisture as well as flavor. The best cuts of beef need only soak for 20 minutes to an hour. For less choice cuts of meat, increase the soak time to tenderize. Always marinate in the refrigerator—never at room temperature, but DO let the meat sit at room temperature for 15 minutes or so before putting it on the grill. Chicken needs to marinate for at least 20
minutes but generally not more than an hour. For a few favorite grilling recipes and marinades check out the Spring Recipe Collection in my spring bundle.
For meat that is to be cooked for a long period of time with the lid down; a simple small pan of water set inside the grill, away from the meat will help
replace some of the juice lost during cooking. Flavored chips (Mesquite for example) added to the water will also enhance the taste. An open can of beer set over the hottest part of the fire will boil and saturate the air with vapor and flavor. Sauces should be added during the last few minutes of grilling.
I hope you enjoy getting outside and grilling this spring! I can’t wait to have that smell wafting in the air. Grilling always makes for a flavorful,
succulent meal the whole family enjoys. Read the rest of the article, comment, share and bookmark. |
|
Please don't forget to "Pin" these articles and posts when you head to the Hillbilly Housewife website to read more. It helps get the word out about the site and the newsletter. Thank you! |
A Little Something Inspirational...
|
|
That's it from me for this week. It's sunny and not too cold outside today, so I think I'll go out for a little walk before tackling the next set of chores for today. Are you noticing any flowers coming out yet? We have some daffodils and lady of the valley coming up already. Growing up in Germany we called Lady of the Valley "Maigloeckchen"
which roughly translates to little may bells... and yes, they didn't start appearing until early May. |
|
|